
By Jasen Bowes

Every dye recipe started as an experiment.
I could honestly say the same about my scratch cooking. The difference being that a bad experiment in the kitchen can taste pretty awful whereas all color that is created from plants still turns out beautiful in the end if you ask me. My goal is starting this series of work called Palate/Palette is to pass on the knowledge i have gained as a natural dyer over the years combined with my lifetime of cooking.
I want to say it straight away that i make plenty of mistakes, both in the kitchen and in the dye studio, but it's just a way to remind me that not all mistakes end up being bad. Occasionally i play with ingredients in a dye bath and the colors turn out amazing. Other times, the color ends up muddy and muted to a level that i cannot even decipher what the intention was with my color mixing. In the end, it's still a color.
I said earlier that my cooking is an experiment, which is true. I also made a comparison to dyeing being an experiment, which needs a bit more explanation as today i'm going to attempt to teach you a bit about dyeing to achieve a certain color. Dyeing can always be a fun experiment for anyone, but if that someone wants to achieve a certain color consistently then there are many factors which need to be carefully considered. I'll get a bit deeper into those considerations below, but for now let's just keep this topic of dyeing with onion skins easy and fun. If you care to go deeper, then read further down the page or search with google to understand more deeply how detailed natural dyeing can be if you want it to be.
One other note of great importance that i want to make VERY VERY CLEAR here is that dyeing and cooking do not happen in the same place as a rule. The DO NOT happen at the same time as a rule. They DO NOT happen with same tools as as rule.
If dyeing interests you more deeply after reading this offering and dyeing with onion skins then please be smart for your health and go buy a different set of pots, tongs, wooden spoons, cheese cloth, strainer, etc. Do your dyeing outside if you continue on past dyeing with onion skins. And i'll say it again, eat before or after you have done your artistic dye work, not during. Always wash your hands after working with dyes as some plants and mordants are not good to ingest.
Working with onion skins is safe for our purposes below. We will not be using a mordant ( which is advised if you go more deeply into dyeing as it creates a much better bond of the dye to the fabric and makes it resistant to fading) which makes our exercise safe and easy to give you an intro to natural dyes. If you become "hooked on dyeing" like i did after using onion skins then make a small investment. Visit a thrift store and get all that you need from the list below to make your own dye studio.


Total Prep Time: 15 Minutes Total Cook Time: 2-3 days. Serves: 60
1 lb Sweet Yellow Onions
2 Tbs Kosher Salt
2 C. Apple Cider Vinegar
1 C. Organic Cane sugar
1.5 Tsp. Mustard Powder
2 Tsp. Mustard seeds
2 Tsp. Ground Turmeric
2 Tsp. Black Peppercorns
1. Slice onions very thin. Place in a bowl and toss with salt.
2. Let rest about 1/2 hour. * This process should soften the onions a bit, but still leave them crispy.
3. Let’s create the Briny Solution: Combine the remaining ingredients in a pan or sauce pot and simmer for a few minutes. (*Apple Cider Vinegar, Sweetener (sugar or agave), Mustard Powder, Mustard Seed, Turmeric, Black Peppercorn). Make sure to completely dissolve all ingredients (OBVS. the mustard seeds and peppercorn do not dissolve). Remove from heat and allow to cool on the counter.
4. Once cooled, pour briny solution over top of the onions in the bowl. Mix well so mustard seeds and peppercorns are distributed throughout the onions.
5. Transfer onions to a jar with a lid. There will be more solution then there is room in the jar. Try to use a jar small enough to hold all the onions tightly so that all onions can stay submerged under the solution to cure and absorb all the yummy flavor.
6. Cool and place in your fridge for 2-3 days before serving. You can taste test after 24 hours to be sure all is well, but you might find you want to eat them on everything within your reach if you do so. Remain calm and only eat a couple.
Notes:
*For an added kick of spice try adding your favorite red pepper flake to the briny mixture. You won’t be sorry. Inspired by a yummy pickle i ate at Zuni in San Francisco CA back in the days i worked with Levi Strauss.


A large stainless steel or non reactive pot*
A long wooden spoon*
A set of measuring cups
Pens and a notebook
Apron*
Heat source - hot plate*
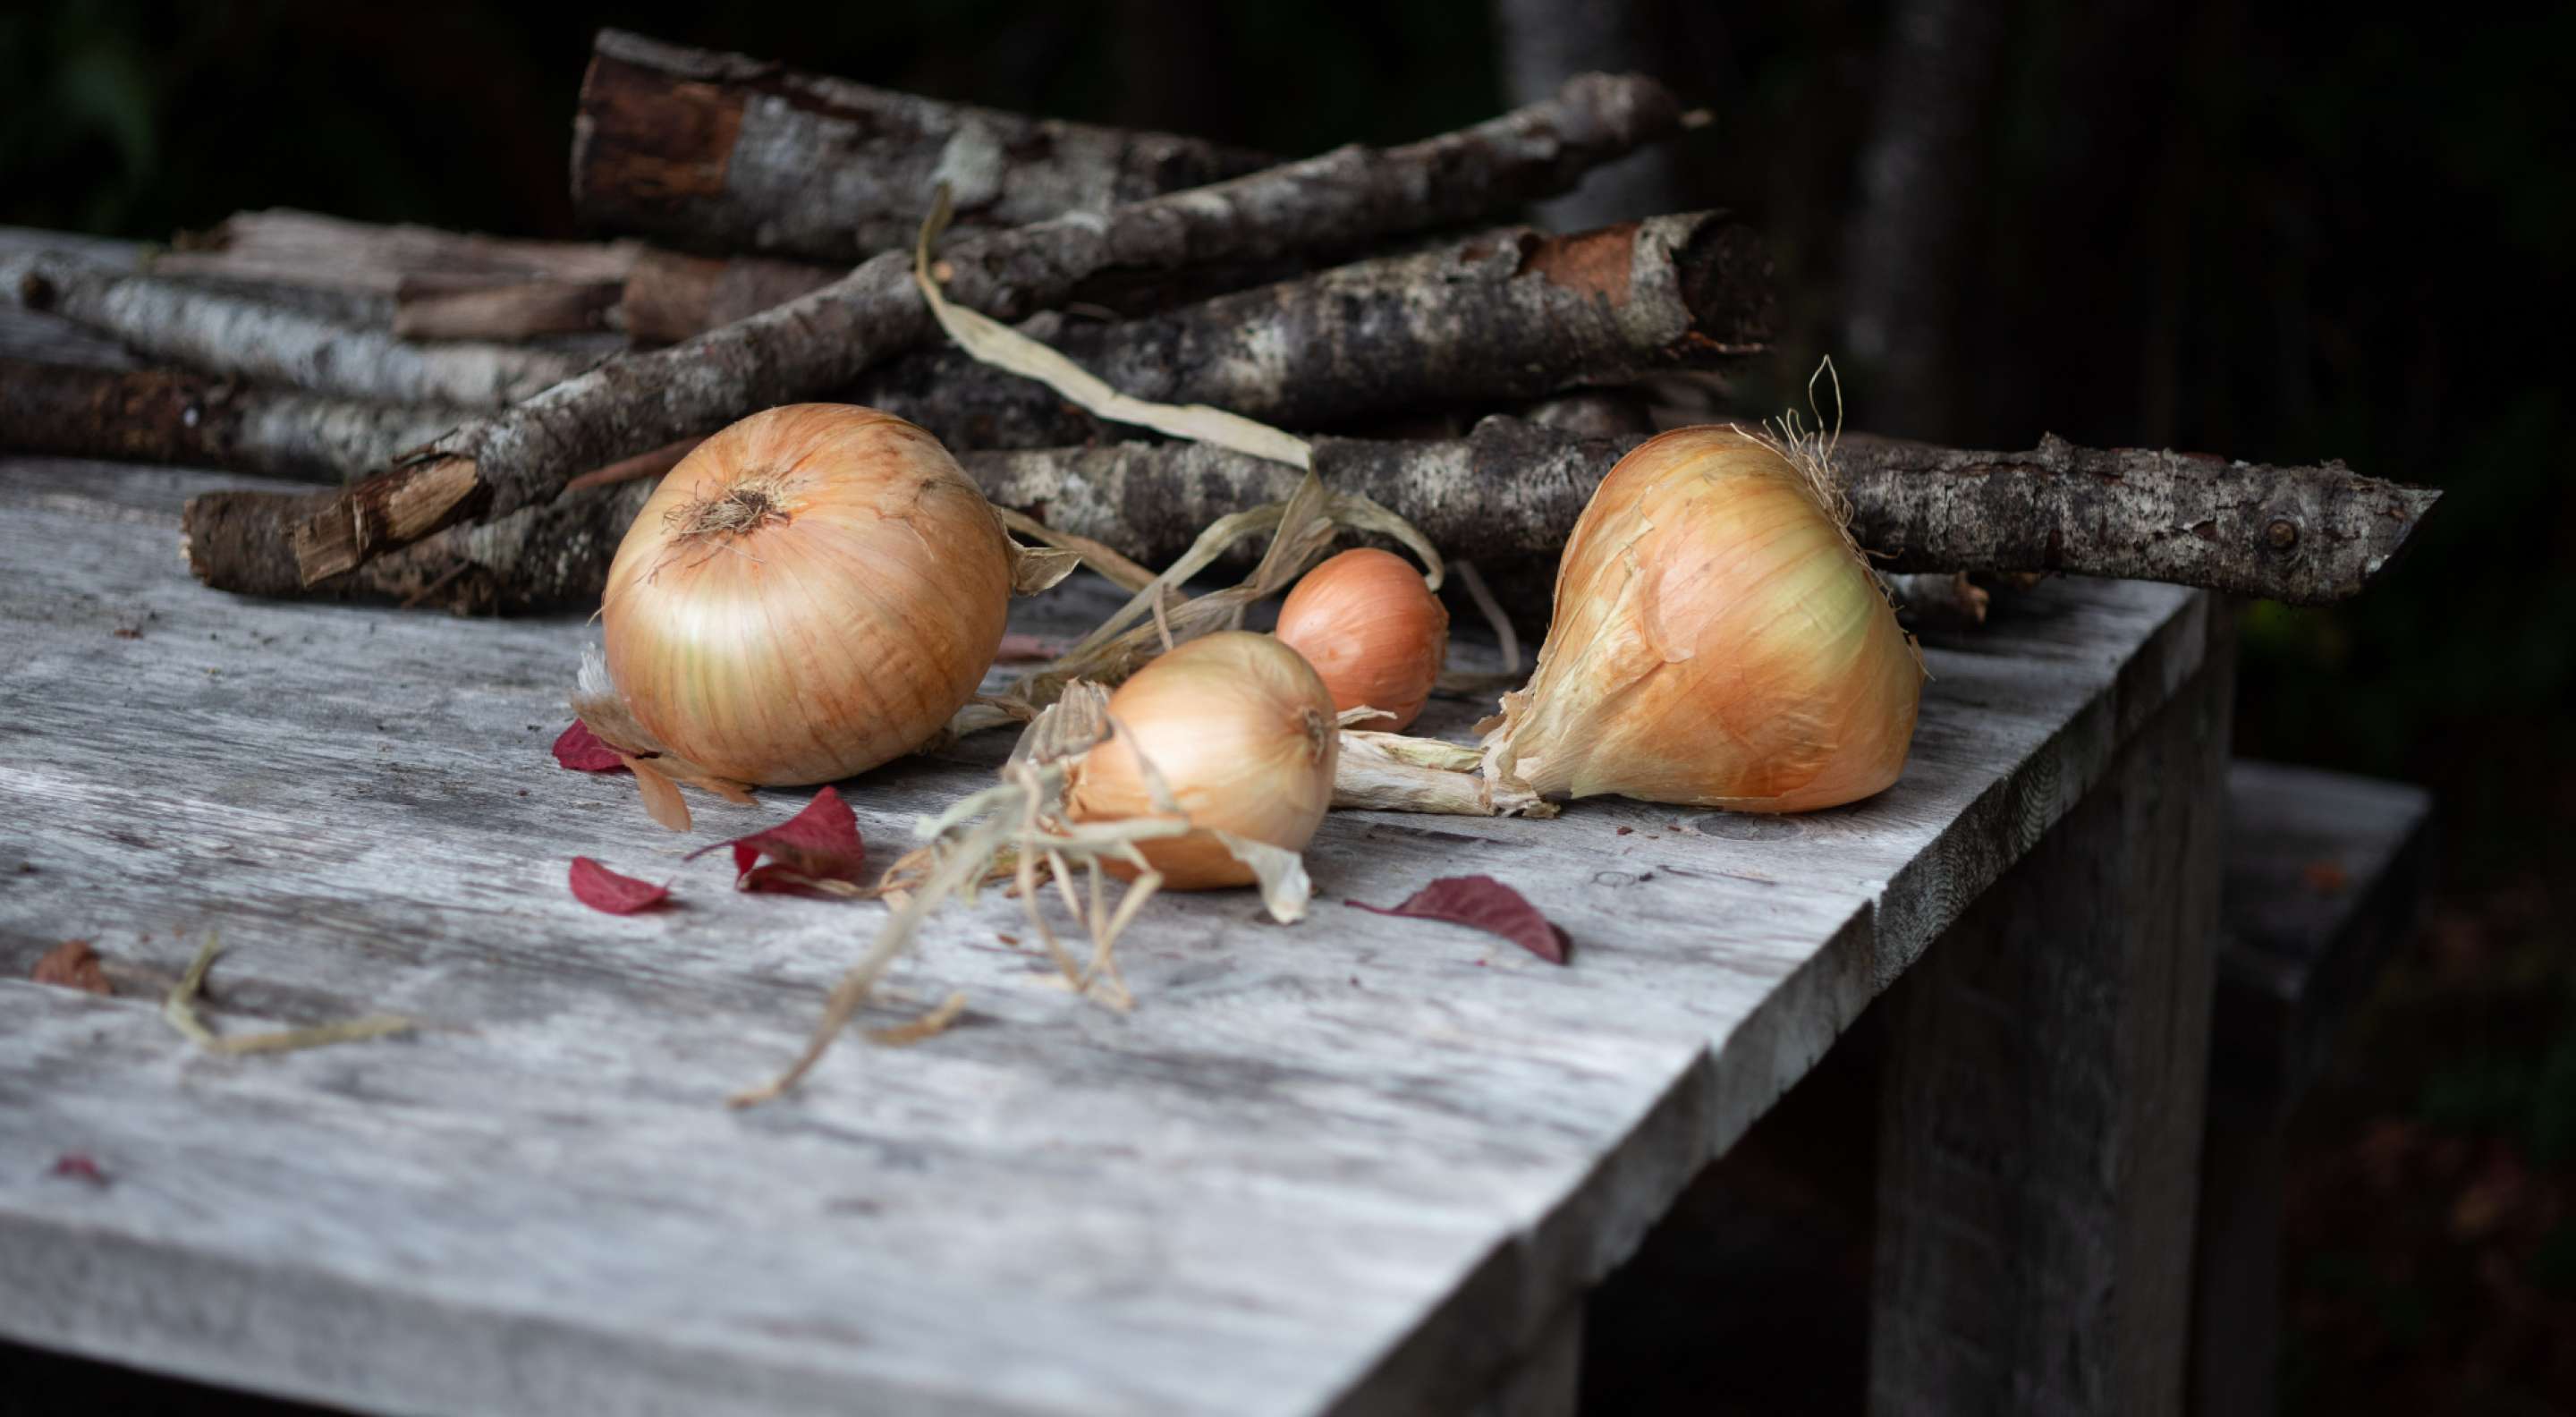
Dye Material ( in our case yellow onion skins)*
White vinegar (should you care to modify the dye bath to be brighter)
Digital scale*
Calculator*
Rubber Gloves (the longer the better IYAM)*
Protection for your work surface (tablecloth/canvas tarp/butcher paper)*
pH neutral soap (Dawn Liquid)*
Large Strainer
Thermometer
Music (optional but always amazing to have good music while working)
*Items you'll need to dye with onion skins. The rest are suggestions for building up your dyeing tool collection.


Typically with dyeing you will take the weight of your fabric or yarn (referred to as WOF) and use it against a calculation of dye stuff, in our case yellow onion skins (sweet onion and yellow onions). Should you want to try to make dyes out of other natural plants, roots etc you will also be making a calculation as to the WOF in relation to the dye stuff. Keep in mind natural dyeing works best with natural fibers - wool, hemp, cotton, linen etc. I do not personally attempt to dye synthetic fibers as i am trying to work with natural products, in an open environment. Synthetics have no place in that environment in my opinion.
I suggest if you become interested in natural dyeing after this reading that you grab yourself a nice big empty notebook so you can start keeping track of your dye recipes and also keep a small clipping of your fabric so you can see the results of your recipe. I actually do the same in my kitchen when i am cooking (Again - cooking and dyeing do not happen at the same time or the same place please).
For onion skins i like to suggest using at least 50% WOF to dried yellow onion skins.
As an example if you want to dye a pair of socks which weigh roughly 70 grams, you would want 35 grams of dried yellow onion skins to make a deep rich color. What if you wanted a lighter color? Just use slightly less dye stuff. Get the picture?
Once you know the weight of what you want to dye you can calculate how much weight of onion skins you need. Then simply fill your pot with water about 3/4 full and add your onion skins. You'll want to use a pot that will allow your items to move freely once you have extracted the dye from the onion skins so choose your pot of choice carefully.
Bring your onion skin dye pot to a simmer for 30 minutes. I like to bring mine up to about 170 degrees (if using a thermometer) and then turn them off. Ideally i like to even let the pot rest and cool overnight before i remove the dye stuff, but that's just me. I don't like to work so much with the hot dye baths when straining my dye stuffs out.

After you have weighed your item or fabric, scoured (washed) that item, made sure the item is wet thoroughly, then you can add it to the dye pot. If you're using the dye hot that you just extracted as detailed above, then simply strain the dye (or not, sometimes leaving the onion skins in the pot creates some cool patterns on your items) and add your items - fabric, t shirt, socks , vintage napkins etc. Be careful when straining a hot dye bath as you can scald or burn yourself very easily.
Bring the strained dye back up to a simmer and hold for 30 mins or until you feel like the shade of your item is the color you desire. Again, i let my items cool in the dye pot. I like to think of my natural fabrics and yarns i dye as a skin. So when they heat up the pores open and the accept the dye. When they cool, those pores close up (Just like washing your face before bed, right?) and hold some dye.


Once you have dyed your items, it's important to rinse them. Let your items cool if you have removed them from a hot dye bath so that you don't shock the fabric and cause it to shrink when you rinse. Take a bowl or bucket and fill it with warm water and then begin to massage your dyed items under the water. You will probably want to do this multiple times to be sure the extra dye has fully left your items.
Once you have rinsed your items please hang them in a place out of direct sunlight to dry. Keep in mind since we did not mordant the items prior to dyeing that the color will eventually fade with washing and exposure to sunlight. I wanted to keep this exercise fun as an intro to natural dyeing so that you could experience the fun of using your food waste for good uses such as making a natural dye.


There are many things to consider when trying to create a certain color or color range with a plant dye (natural dye). While i might have made the inference above that dyeing and cooking are similar i actually believe dyeing is far more scientific if you want it to be which would actually make it a closer relative to baking. I suggest you dig in deeper here if any of the follow is interesting to you as so much info can be found at the links below from the talented dyers i have listed.
Water and the alkalinity of that water will
have an influence on a final color of dye. To test this you can buy pH strips to understand what levels your water lands on. You can then elect to use it as is, or you can use a modifier to take it up or down in pH. White Vinegar, citric acid, soda ash, baking soda are modifiers that can help you make your water the perfect pH for your liking.
The same goes for the dye stuff itself because where it was grown, when it was grown and how it was grown can cause a dye from the same plant that is derived from two different regions to create two different colors. Think about a fine wine and why it is appreciated - for the soil and conditions it was grown in, as well as the varietal of grape. Some years you get better wine from that vine than others. The same goes for dye plants.
How the fabric or yarn is scoured (pre-washed) can also influence a final result. I suggest hand washing with a couple drops of dawn liquid soap ( not any fancy antibacterial business, just plain ol' dawn liquid) and maybe a tablespoon of some washing soda if you have it around. Make sure to rinse well after you wash your items.
How hot you make the dye bath can also influence the color. For yellow onion skin dye if you bring your pot to a boil you'll find that your colors become a bit darker, more muted, closer to an orange brown color, but if you lightly heat the dye bath you can garner a beautiful deep golden color or almost a burnt orange.
Whether you remove the dye stuff before dyeing or leave it in the pot can also influence your final color. Dye stuff left in the pot versus removing and straining can be a fun way to make unique patterns or color concentrations. It is truly experimental as the concentrated dye material will leave markings on your fabric or yarn. If you want to get a clean, clear dye color on your fabric i suggest you strain out your dye materials for the best result. The great thing about working with natural dyes is that you can take your leftover dye material after you make the dye and use it in your compost.

Palate / Palette is an exploration into using foodstuffs and food waste as a resource for learning, pleasure, and fun.
For more exciting dye stories check out the following expert natural dyers:
Special thanks goes out to all the people above and below that inspire me, provide me with flowers and plants to dye with, teach me, allow me to use their land for my work, eat my food whether it's great or just average, give me free advice and keep me motivated to move on.
Denis and Heather at Nehalem Kabin
David, Steve, Maggie and Eli at New Seasons Cedar Hills